Overview
Creating a billboard in Flash is a great lesson to start off with to learn the interface of Flash and how to work with Actionscript. Having knowledge of Adobe Flash can benefit your career as a Web Design/Development professional in many ways. Often times flash files on Website are used to create a focal point and make the site more interactive. Below are directions on how to create an interactive image billboard using Adobe Flash and Actionscript 3.
Steps
1. New --> Actionscript 3
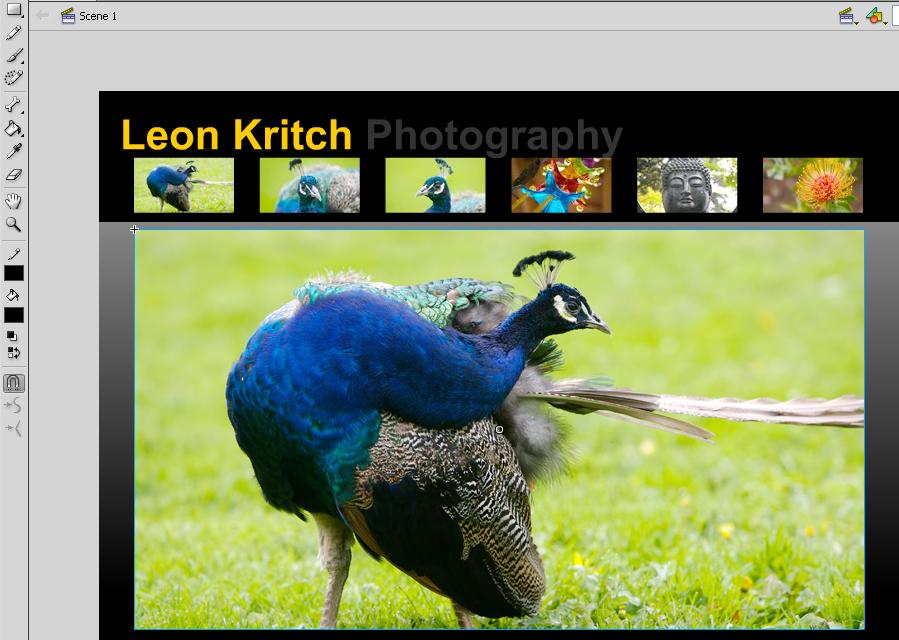
2. Starting off with a basic layout, let's say these are the four images you want to enlarge, make them buttons with the instance name "btn1", "btn2", "btn3", etc. and set up one keyframe for each image. So place a keyframe for each button. In this case I have six. they're located at every 20 frames for me, because I added a camera flare effect. That won't be covered in this tutorial, so just place a keyframe for every frame and give each keyframe a stop command by highlighting the frame and opening the actions panel.
3. The stop command is stop(); so the code for every single keyframe should look like this.
4. Now, on every keyframe but the first one, place the corresponding image from before. So button 1's image should be on keyframe 2, button 2's image should be on 3, etc. each frame should look somewhat like this:

5. Now, highlight the first frame and open the actions panel again. Now we will connect each button to each keyframe. Enter the following code after the stop command, but change the areas in bold.
btn1.addEventListener(MouseEvent.CLICK, showimage1);
function showimage1(event:MouseEvent):void {
gotoAndPlay(WHATEVER FRAME YOUR FIRST PICTURE IS ON);
}
btn2.addEventListener(MouseEvent.CLICK, showimage2);
function showimage2(event:MouseEvent):void {
gotoAndPlay(WHATEVER FRAME YOUR SECOND PICTURE IS ON);
}
btn3.addEventListener(MouseEvent.CLICK, showimage3);
function showimage3(event:MouseEvent):void {
gotoAndPlay(WHATEVER FRAME YOUR THIRD PICTURE IS ON);
}
btn4.addEventListener(MouseEvent.CLICK, showimage4);
function showimage4(event:MouseEvent):void {
gotoAndPlay(WHATEVER FRAME YOUR FOURTH PICTURE IS ON);
}
btn5.addEventListener(MouseEvent.CLICK, showimage5);
function showimage5(event:MouseEvent):void {
gotoAndPlay(WHATEVER FRAME YOUR FIFTH PICTURE IS ON);
}
btn6.addEventListener(MouseEvent.CLICK, showimage6);
function showimage6(event:MouseEvent):void {
gotoAndPlay(WHATEVER FRAME YOUR SIXTH PICTURE IS ON);
}
That will make it so that the button will take you to the keyframe when you click on it.
This should be similar to your end result but without the flashes.
ALL INFORMATION IN THIS TUTORIAL HAS BEEN TAKEN FROM ADOBE FLASH CS4 IN THE CLASSROOM MANUAL


