


Image Codes
Many sites, one being monstertemplate.com, use image codes to fit many images in a tighter area. The image codes can be used to have a thumbnail of an image and have the image enlarge when clicked on. This can be very helpful in web design as it allows you to preserve space and make better use of space. It allows for better proximity. The thumbnail image is usually about 50x50 to 200x200. The larger image is just the full size image with no dimension changes. Below is an example of the image codes that you will learn:
How To Use Image Codes:
1. Before you start, image codes are not compatible with mobile devices, so if you want your page to be compatible, do not use image codes.
2. Before doing anything in the code of your page, you must download a few files. In order for the image codes to work properly you must download Jquery, a free javascript library that will hold the code for the images. You also have to download slimbox.js and slimbox.css which is the the code and styling for the slimbox feature.
3. Now that you have downloaded the files, move thme into your site's root folder so dreamweaver can easily access them. This way insted of writing a very long filepath for dreamweaver, you can simple write something like rootfolder/slimboxfiles/slimbox2.js. Also, you must do this because writing out the full filepath will only work on your local computer since remote computers do not have access to your hard drive.
4. Now that you have the files in your root folder for dreamweaver to access, you have to write the code so the specific page you are putting your image codes in can access the files. To do this, you have to put 3 lines of code in the <head> tag, one for each file. All you have to do is replace the word PATH with the name of your site's root folder. The code is as follows:
<script type="text/javascript" src="PATH/jquery.js"></script>
<link rel="stylesheet" href="PATH/slimbox2.css" type="text/css" media="screen">
<script type="text/javascript" src="PATH/slimbox2.js"></script>
5. Now that you have everything set up for the image codes to work, it is time to write the code for the image(s) you are going to use the image codes on. To add these images to your page you must use the following code:
<a href="PATH/FULLIMAGE" width="WFI" height="HFI" alt="content" rel="lightbox" title="my caption">
<img src="PATH/THUMBNAIL" width="WTN" height="HTM" alt="small" />
</a>
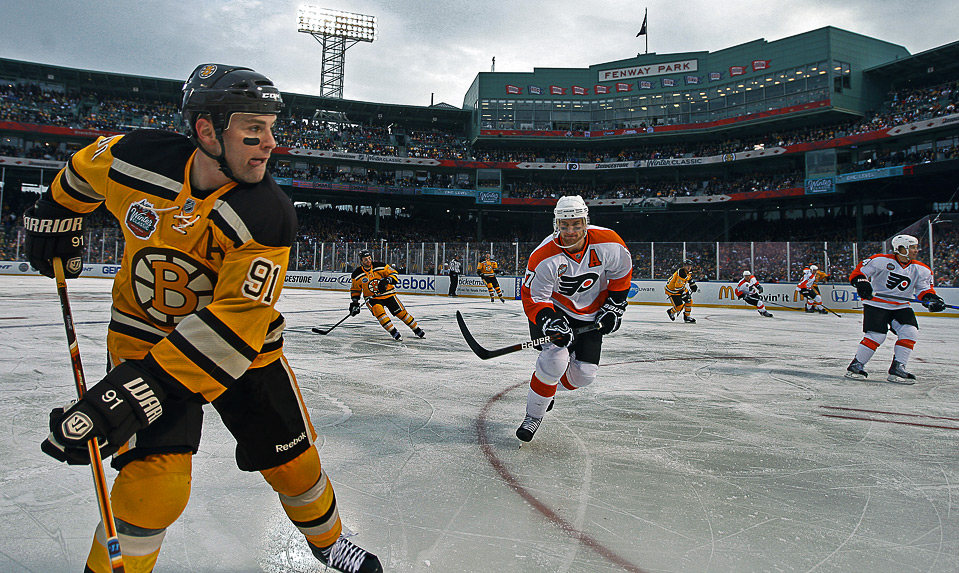
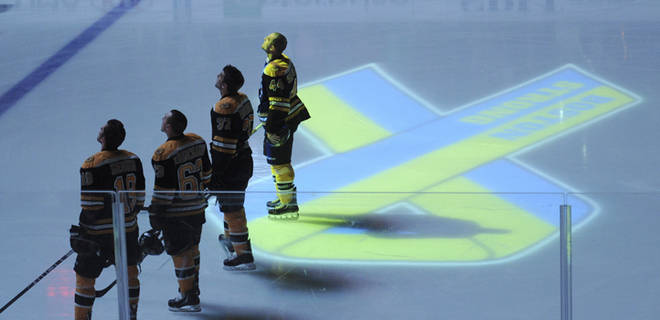
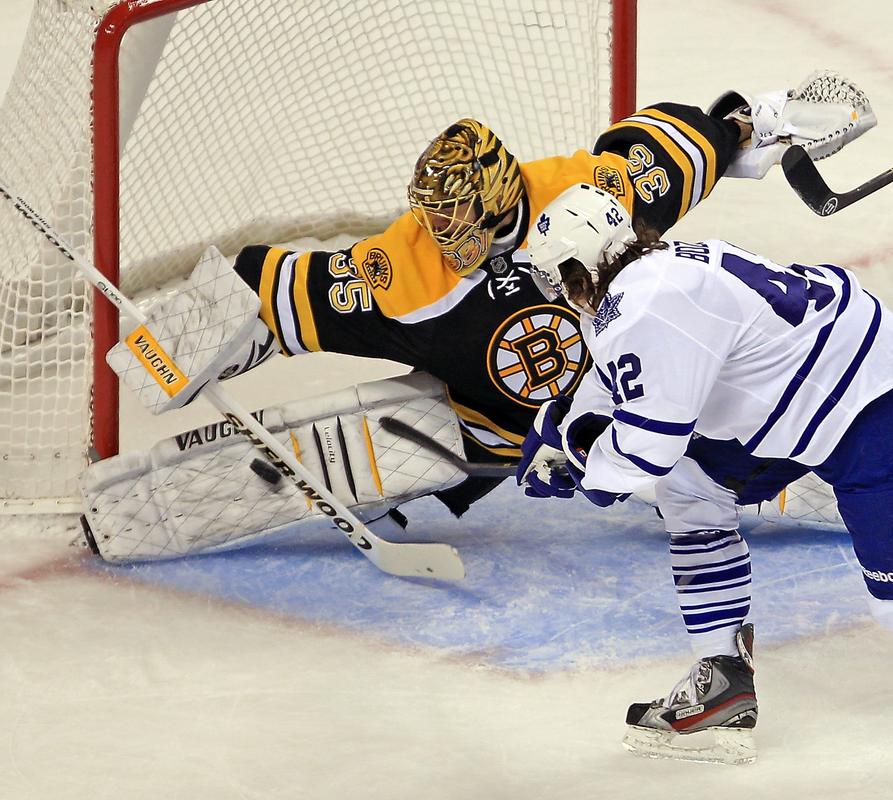
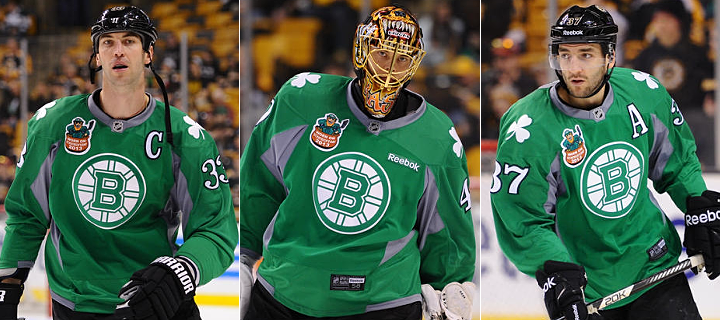
Now you just have to replace the placeholder code with your code. For example, where it says PATH/FULLIMAGE and PATH/THUMBNAIL, I have _images/large_bruins1 and _images/small_bruins1. You also have to replace the WTN, HTN, WFI, and HFI with the width of the thumbnail, the height of the thumbnail, the width of the full image, and the height of the full image. The alternate text and title attributes are not necessary for the code to work. After you have done all of this you are done with the image codes and you get something like the images that I have above.
6. Lastly, notice how once you click on one of the images on this page, you can navigate between them without closing the slimbox feature. You can click on the next or previous buttons that show up on the top corners of the image. These images are grouped together like that because they all have the same rel="" which is rel="lightbox-bruins". Using keywords after the ligthbox allows you to group images together like this.
With the completion of these 6 steps you will have successfully learned how to create and utilize image codes in your page. Thank you, and I hope the lesson helped!
 |
 |
 |
 |
 |
 |
 |
 |
 |
Lorum | Ipsum | Dolar | Sic Amet | Consectetur
©2008 Lorem Ipsum Dolar Sic Amet • Consectetur