


Templates


In Dreamweaver there is a way where you can create a template and use it to make life easier when making more than one page for a site that has basically the same elements on it as the original. Below will show you the way on how to create templates from an original page.
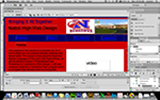
1. First you want to open a file that you have created in Dreamweaver. On the right is a picture of a page that was created.
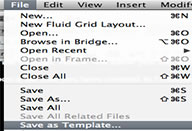
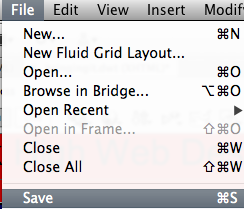
2. Click "File | Save as Template" from the menu. This means that you click the "File" menu, and when the menu appears, select the "Save as Template" option. In the dialog box that will appear, click the "Save" button.
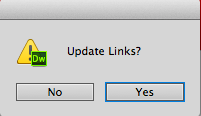
3. Another dialog box will appear asking you if you want to update your links. Click "Yes". Dreamweaver will create a new folder now in your computer's website folder called "Templates". If you look at the filename show at the top of the window, you will notice that Dreamweaver has replaced the current file extension with the template file extension. This is what you want, since we need to design the template.
4. Since you have done all these steps, Dreamweaver creates a template that has no editable regions. This means that the template is not editable until you tell it that it can be. So, all the things on the template will stay there unless you mark it that it is editable. To change that, you will need to specify areas of the template that can be modified.
5. For example in my template shown below, I want to change the words that says, “Natick High Web Design”. So you drag your mouse over it. You then mark this text, "Natick High Web Design", as editable so that it can be replaced with the title of whatever page you are creating.
6. To do the step above, click "Insert” from the menu bar at the top and select, “Template Objects” and then “Editable Region". A dialog box will appear. Then type whatever you want into the box and click OK. Preferably what you want to type in that box should have to do with what the div represents. Dreamweaver marks this section with a little box in the div to show you that it is editable. You can then do this for any other section you want.
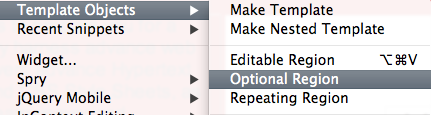
7. Select another region you may want to edit. There is an option where you are allowed to edit a region if you want but it does not have to be edited.This region could be edited on one page but not on all of them. So to do this, you go to "Insert” then the option “Template Objects”. After that click on “Optional Region". A dialog box will appear. You can give this section whatever name you would like and it will show that name in the div you selected to be optionally edited.
8. Save the template now by clicking "File” then “Save" on the menu bar at the top. You will get a pop up message that asks if you want to overwrite your files and you just simply click Yes. Then you are done and have created your template!
Lorum | Ipsum | Dolar | Sic Amet | Consectetur
©2008 Lorem Ipsum Dolar Sic Amet • Consectetur